Trekking poles are useful on steep, loose, wet, or long trails. They are not magic walking sticks, and carrying them on a flat park path adds little, but the right pair can improve balance and reduce strain before your legs start complaining.
When do trekking poles actually help on a day hike?
Use them for balance, not as crutches
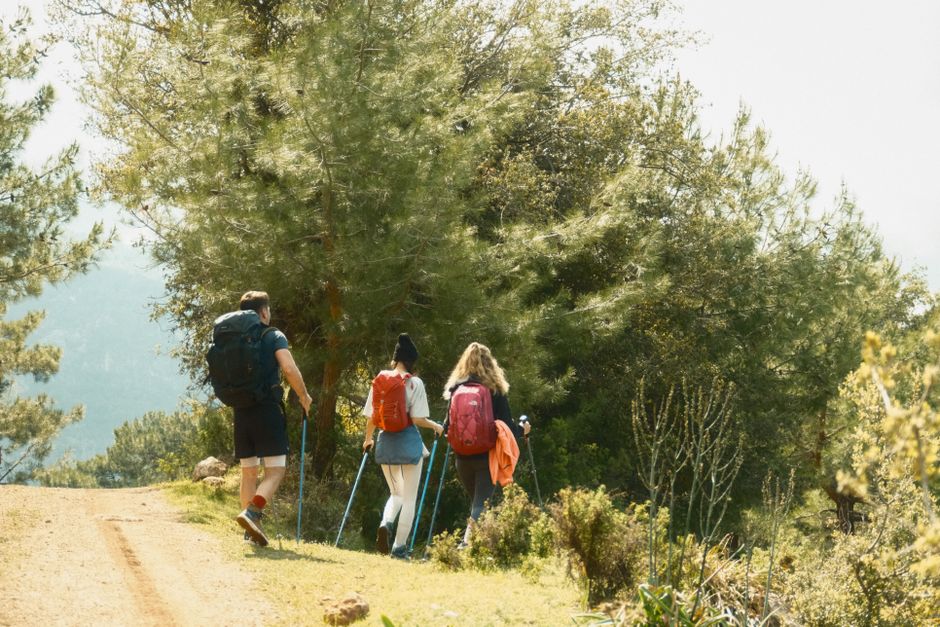
Trekking poles help most when the trail keeps changing under your feet. A pole gives you a second contact point before you place your full weight on a rock, patch of mud, or loose gravel. That extra point of contact can stop a small wobble from becoming a twisted ankle. Poles also help you keep a steady rhythm on long climbs. Plant one pole as the opposite foot moves forward, then alternate sides.
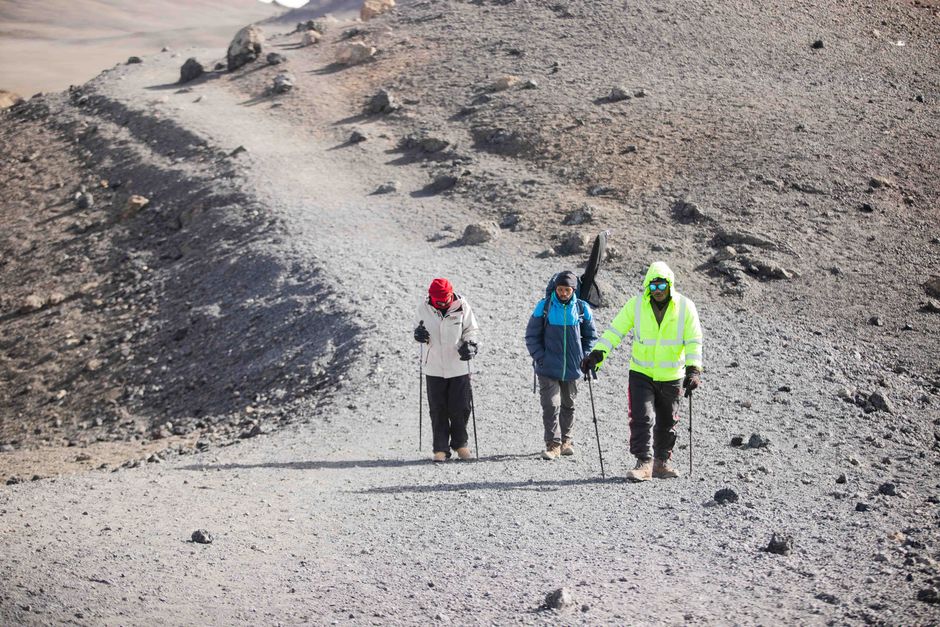
The biggest benefit appears on descents. Downhill walking sends more force into your knees because your body brakes with every step. Planting the poles slightly ahead gives your arms part of the braking job. You still need to step carefully, but your knees no longer handle every bit of downward force.
Three trail situations where poles earn their place
- Loose descents: Poles help you test gravel before shifting your weight.
- Stream crossings: Two poles give you a wider base while you move between wet rocks.
- Long hikes: A steady arm swing spreads work across your upper and lower body instead of leaving your calves and knees to do everything.
Poles will not fix poor footwear, bad pacing, or a route that exceeds your fitness. They also cannot replace looking at the trail. For a short, flat walk, leave them at home. For uneven ground and repeated elevation changes, use them from the first mile rather than waiting until fatigue ruins your balance.
Which trekking poles make sense for a day hike?
Compare the useful differences, not the marketing
Most hikers do not need expedition-grade poles. They need a reliable locking system, comfortable grips, a usable length range, and tips that match the trail. The examples below show the real tradeoffs in 2026. Prices can move, but the design differences stay clear.
| Model | Construction | Adjustment range | Collapsed length | Listed price |
|---|---|---|---|---|
| Black Diamond Trail Back | Aluminum, three-section | 100–140 cm | 61.5 cm | $99.95 |
| LEKI Makalu Lite | Lightweight aluminum | 100–135 cm | Not listed in the cited specification | About €110–€120 |
| Cascade Mountain Tech Carbon Fiber Quick Lock | Carbon fiber | Varies by version | Varies by version | $64.99 |
My pick for three common buyers
The Black Diamond Trail Back is the best choice for a new day hiker who values easy adjustment and durability. Its aluminum shafts tolerate knocks better than carbon fiber, and its 100–140 cm range suits many adults. The LEKI Makalu Lite is the better pick for hikers who carry their poles often and care about lower weight. The Cascade Mountain Tech Carbon Fiber Quick Lock wins on price, but inspect the locks before every outing and do not expect the same refinement as a premium pair.
Do not buy based on shaft material alone. A badly adjusted carbon pole is less useful than a sturdy aluminum pole set to the correct length. The lock, grip shape, strap, and fit matter more than a small weight difference during a two-hour day hike.
How should you adjust trekking poles?
Set the basic length before you start walking
- Stand upright in your shoes with your elbows close to your sides.
- Open the locks and set the poles so your forearms sit roughly parallel to the ground when the tips touch a level surface.
- Keep the lower sections inside their marked safety limit. Never extend past the stop line to gain extra length.
- Close each lock firmly, then pull hard on the shaft. If it slips, tighten the mechanism before walking.
Change length for climbs and descents
Shorten both poles by 5–10 cm for a sustained climb. The shorter setup keeps your hands closer to your body and stops your shoulders from reaching too far uphill. On a long descent, lengthen both poles by 5–10 cm so you can plant the tips ahead without bending sharply at the waist.
On a steep traverse, shorten the uphill pole and lengthen the downhill pole. That uneven setup keeps both hands in a natural position. It takes a few seconds and works better than forcing both poles to the same length on slanted ground.
Use the wrist straps correctly. Slide your hand upward through the strap from below, then rest your palm on the strap before closing your fingers around the grip. The strap should carry some pressure during a plant. A tight death grip wastes energy and can leave your hands numb.
Practice these adjustments in a driveway or quiet trailhead. Fumbling with a lock beside a drop-off is a poor place to learn.
What goes wrong when hikers use poles?
The common mistakes are simple
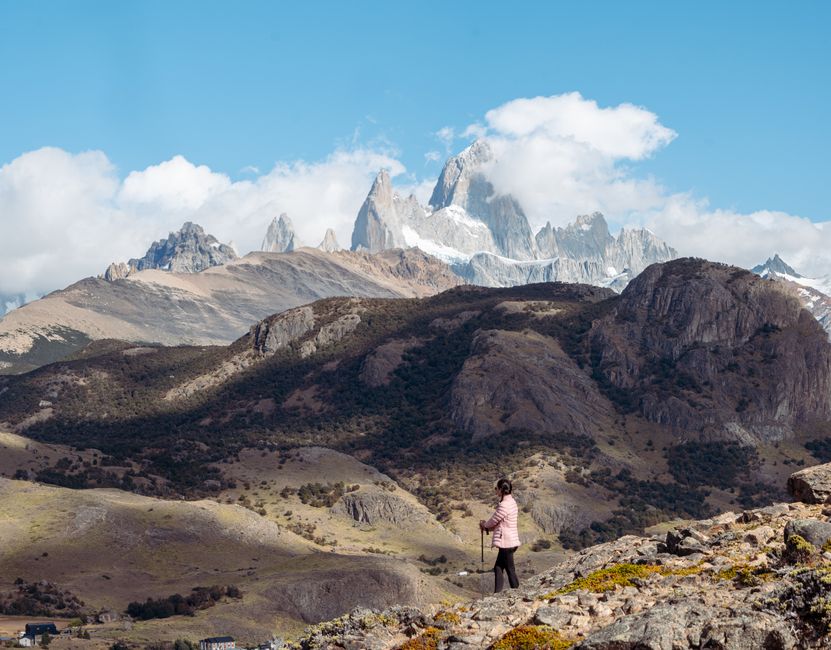
The worst mistake is planting the poles too far ahead. That forces you to reach, twists your shoulders, and can pull you off balance. Plant the tips near your feet on level ground and only slightly ahead on descents. Your arms should swing naturally instead of stabbing at the trail.
Another mistake is locking the poles without testing them. Adjustable locks can loosen after repeated use, temperature changes, or a hard impact. Before every hike, extend each pole, close the lock, and pull down with your body weight. A pole that collapses while you lean on it can cause a fall.
- Do not use rubber tips on loose dirt when the carbide tip would grip better.
- Do not use bare carbide tips on polished indoor floors or fragile rock.
- Do not plant poles between your feet, where they can catch your stride.
- Do not drag the tips behind you. Dragging produces noise without giving you useful support.
- Do not lean heavily on a pole that is not designed as a medical walking aid.
When poles make the hike worse
Skip poles on crowded narrow paths where the tips can hit another hiker. Leave them packed away during easy flat sections if the swing feels forced. Hikers who already have wrist, shoulder, or balance problems should ask a clinician about safe use rather than treating trekking poles as a substitute for a walking aid.
The clear verdict: poles help when they improve contact with the ground. If they make you stare at your hands, shorten your stride, or trip over your own tips, stop using them until the technique improves.
Which pole setup works on different trail surfaces?
For mixed day-hike terrain, use adjustable aluminum poles with carbide tips and standard baskets. That setup handles rock, dirt, roots, and shallow mud without forcing you to carry separate equipment. Lightweight carbon fiber feels pleasant in the hand, but it offers less tolerance for side impacts. Aluminum is the better choice for hikers who are hard on gear or use poles around sharp rock.
Match the tips and baskets to the ground
On dry dirt and rock, carbide tips provide the most dependable bite. Rubber caps reduce noise on pavement and protect delicate surfaces, but they can slide on wet stone. Small baskets work for normal three-season trails. Wider snow baskets stop the tips from sinking in soft snow, though they add bulk and are unnecessary for ordinary day hikes.
Choose your pole by the problem you need solved
If knee comfort on descents is the main concern, prioritize a secure lock and a length range that gives you at least 5–10 cm of downhill adjustment. If packability matters because you use public transport to reach trails, choose a three-section design with a collapsed length near 60 cm, such as the Black Diamond Trail Back. If low carried weight matters most, the 248 g LEKI Makalu Lite is the stronger premium example. For a low-cost first pair, the Cascade Mountain Tech carbon fiber models offer a workable entry point, but check the specific version because lengths and construction vary.
Do not buy folding poles just because they look compact. Folding designs pack small, but some have less adjustment range and more parts to inspect. For ordinary day hikes, telescoping poles are the safer default because they are simple to fit and easy to tune on the trail.
Do you need trekking poles for every day hike?
Are poles useful on a flat trail?
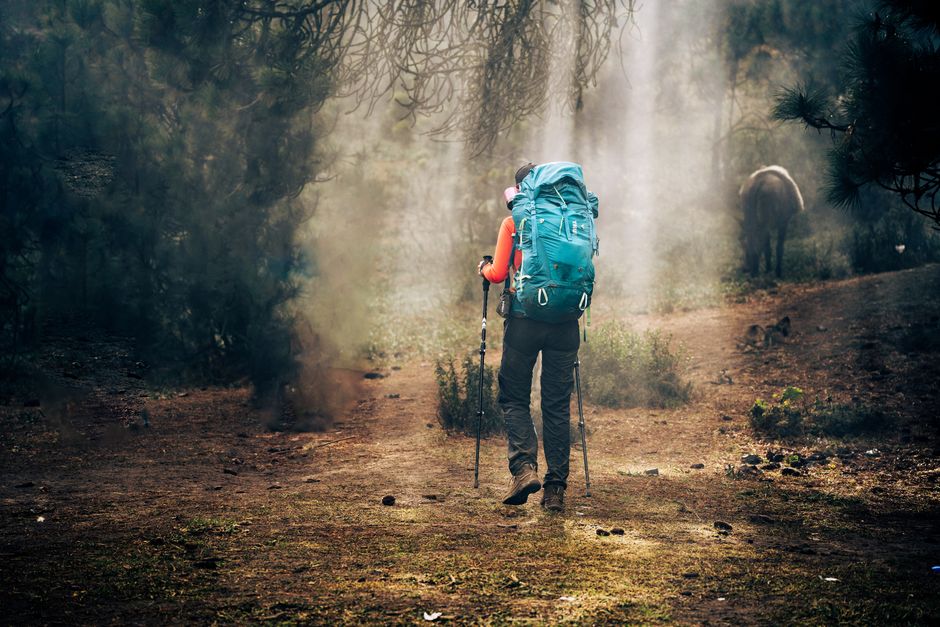
Usually no. On a short, flat, even route, poles add carrying and handling without solving a real problem. Walk naturally and keep your hands free for water, a camera, or a map. Poles become useful when the trail adds loose footing, elevation, wet crossings, or enough distance to create fatigue.
Should beginners use two poles or one?
Use two poles when you want balance and rhythm. One pole can help with a minor injury or a single steep section, but it loads one side of your body and encourages uneven movement. Two poles distribute contact and make downhill braking more predictable.
Can trekking poles prevent knee pain?
They can reduce some downhill strain, but they cannot diagnose or treat knee pain. Shorten your route, slow your pace, and check your footwear if pain starts. If the pain persists, seek medical advice. For a healthy hiker on uneven terrain, correctly adjusted poles are the best simple upgrade: they improve balance, give you a controlled point of contact, and make steep descents less punishing.